This tutorial follows chill1Penguin’s method and worked, but it involves advanced procedures and carries significant risks, including permanently disabling your router. Installing 3rd party firmware usually voids the manufacturer’s warranty.
Prerequisites
- TP-Link ER605 Version 2
- chill1Penguin’s GitHub repository
- OpenWRT system upgrade Image
- SSH Client
- Ethernet Cable (direct connection to the router, last port at the right)
- USB
- MTD backup script
- Complete flash files
Installation Steps:
1. Enable SSH
- Power on the router and access the web interface.
- Register your username and password, and then log in to the router.
- Navigate to: System Tools > Diagnostics > Remote Assistance.
- Enable Remote Assistance and save the changes.
2. Verify USB Storage Functionality
Connect your USB drive to the router
- Navigate to: USB > USB storage to check if it’s working
- Remove the USB drive from the router and connect it to your laptop.
- Unplug the Ethernet cable and enable your Wi-Fi network to avoid potential IP conflicts.
- Download the files from chill1Penguin’s GitHub repository.
- Download the upgrade image from firmware-selector.
- Additionally, save the MTD backup script.
- Store all these files on the USB drive.
3. Generate Debug Mode Password
To obtain the debug mode password, please access the following link: ER605 v2 Root Password Generator
- You will be required to input the router’s MAC address and your username (used during registration).
- Upon completing this process, you will be able to retrieve the debug mode password.
- Kindly save the debug mode password to a notepad, as we will require it in the next step.
4. Establish SSH Connection
- Reconnect the Ethernet cable and disable Wi-Fi.
- Open your SSH client (Command Prompt) and connect to the router’s IP address (default is 192.168.0.1).
- Use the username you registered (mine is kyle) and password (kyle1234)
ssh -o HostKeyAlgorithms=+ssh-rsa [email protected]5. Enter the Debug mode
Upon successful login, type:
debugEnter the debug mode password. If your using command prompt , ctrl + v. If your using putty, just right click to paste.

6. Backup MTDs
type:
cd /mnt
ls
I see sda1 (it is my usb drive)
cd sda1
ls
You will find the file we copied earlier. Let’s make the script executable.
chmod +x backup_mtd.sh
chmod +x er605v2_write_initramfs.sh
Run the MTD backup script. This will take around 2-3 minutes to backup
./backup_mtd.sh7. Execute Flashing Script
Run the script to flash the image
./er605v2_write_initramfs.sh openwrt-initramfs-compact.binOnce the process is done, just type ‘reboot’ to restart the router.
rebootJust a heads up, this might take a bit of time, so it’s best to keep the router on. To confirm that the flashing is complete, you can ping it from another command prompt window (ping 192.168.1.1 -t).
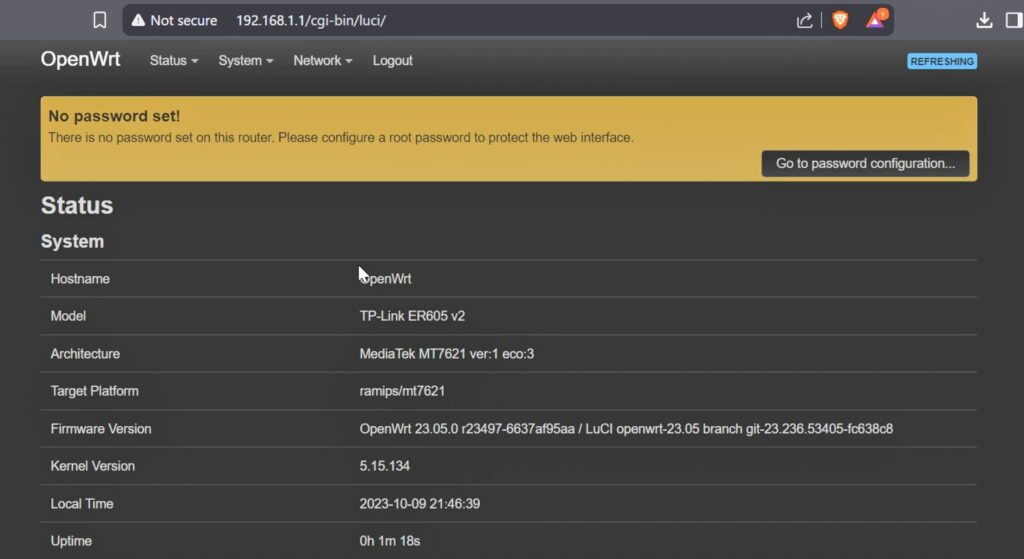
8. Install Full OpenWRT Firmware
- Once the flashing is complete, open your web browser and enter 192.168.1.1.
- Then, click ‘Adjust UBI Layout’ and select the provided sysupgrade image.
- Make sure to choose the version 23.05.0 image, as other versions won’t work.
- After the upgrade, you can easily upgrade to newer versions through the OpenWrt web interface.
If successful, you should see the OpenWRT interface in the address 192.168.1.1